

%20(Large)-min-1.jpg)


-
Ryman Healthcare wins Best Provider in 2025 NZ’s Best Awards
Ryman Healthcare has been announced Best Provider Nationwide at the 2025 Seniors New Zealand Awards for Best Retirement Village and Aged Care facilities, marking the sixth time Ryman has won this prestigious title.
-min%20(1).webp?width=1440&height=1080&name=IMG_8673%20(Large)-min%20(1).webp)
-
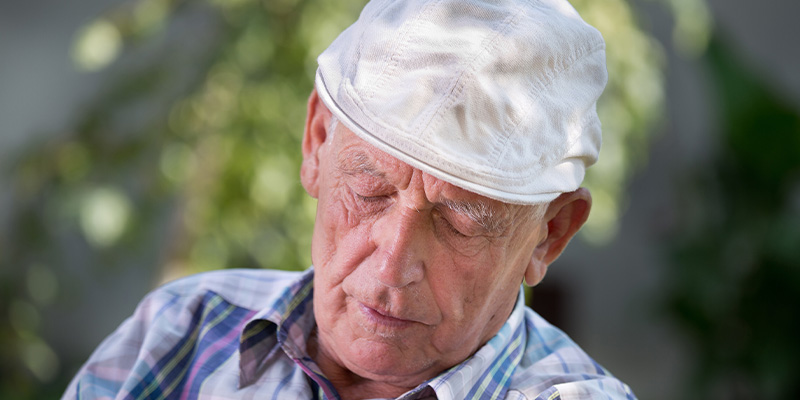
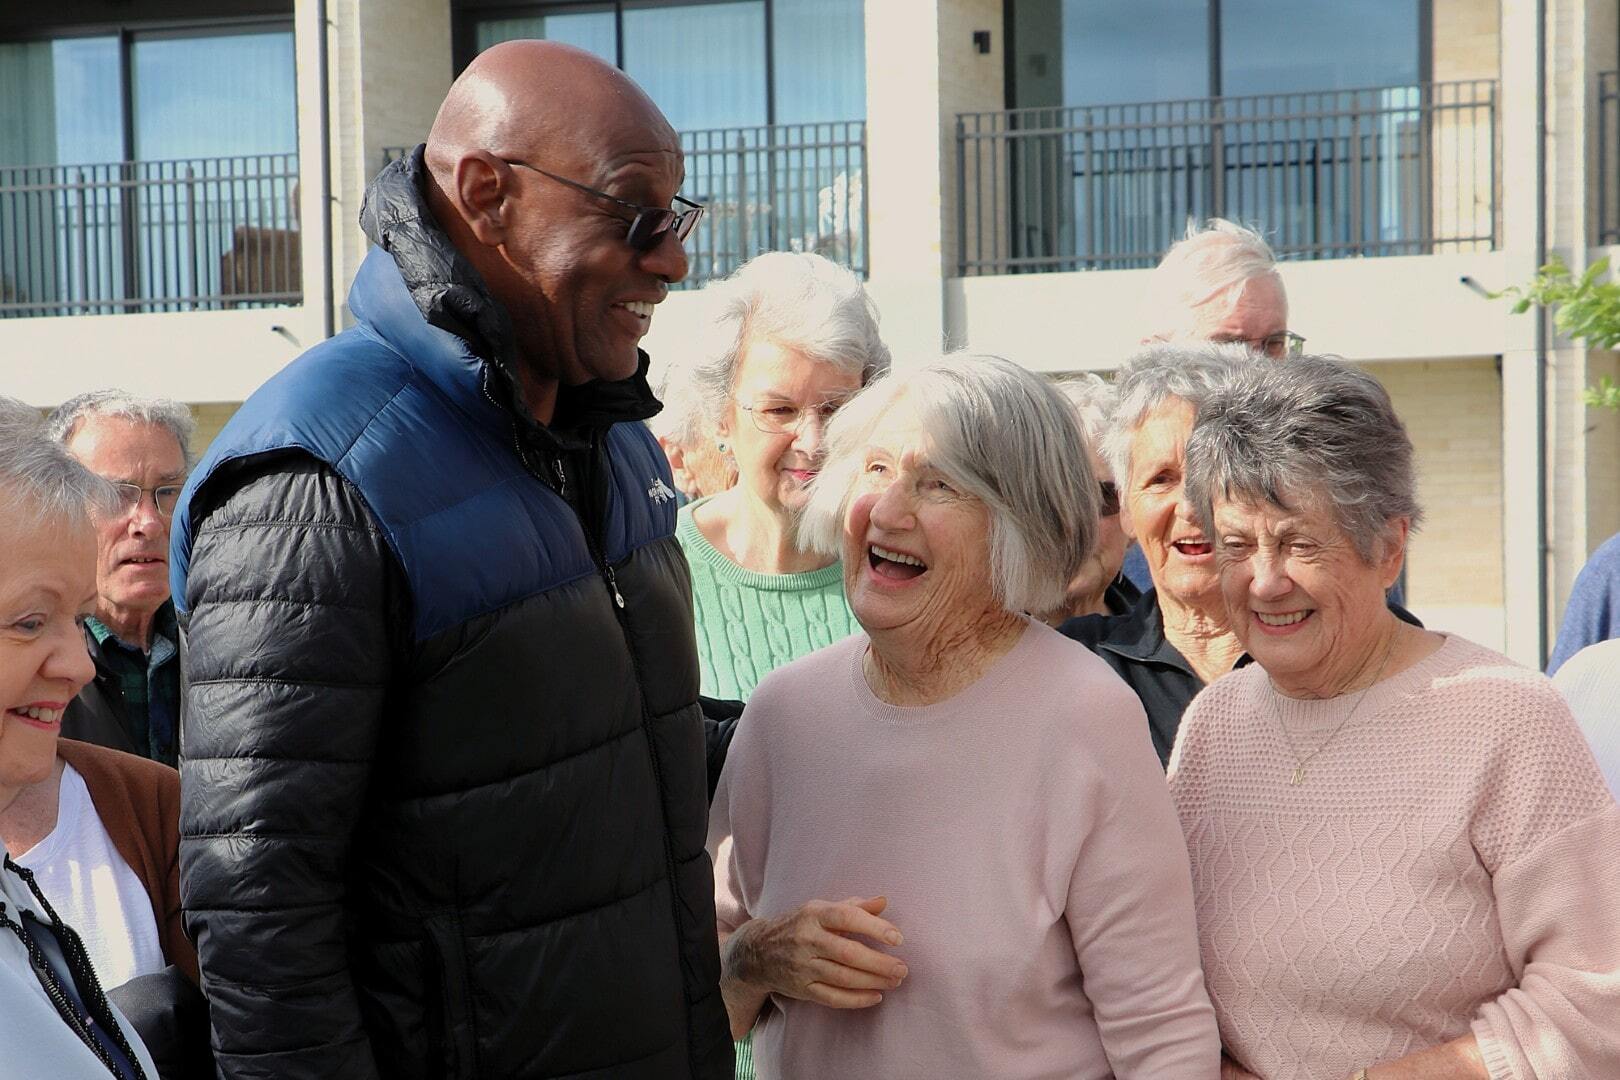
Checking the mail now part of special care unit’s daily routine
Resident Garth Scanlan and his daughter Sharon Mitchell had the honour of cutting the ribbon to unveil a startlingly accurate replica of a NZ Post mailbox.
The mailbox was one of two that had been lovingly crafted by a group of independent residents in the village workshop, with the presentation scheduled during September to mark Alzheimer's Awareness Month.
-min-1.jpg?width=1620&height=1080&name=IMG_5750%20(Large)-min-1.jpg)
-
Best place to retire in New Zealand
New Zealand’s beautiful and varied landscapes, mild climate, and relaxed lifestyle make it an attractive place to live. Whether you enjoy vibrant cities, laid-back coastal towns, or hitting the road in your RV, it’s a top choice for retirement.
.webp?width=1200&height=786&name=IMG04624_Ryman%20Campervan_20241212%20(1).webp)
-
Angus the cat keeps widowed Wally company
They say a dog is a man’s best friend, but they clearly haven’t met Angus the cat, the affectionate feline who lives in Ryman Healthcare’s Keith Park Village in Hobsonville with his owner Wally Annett!
The sociable grey and white cat became a TikTok sensation two years ago when Wally’s granddaughter Sarah posted a video of her Nana Helen and Poppy Wally pushing Angus around the village gardens in his trolley and going for walks on a leash.
.webp?width=1536&height=1370&name=Messenger_creation_89CCA490-2E37-44C5-BFC1-227C677BA0EB%20(1).webp)
-
From five star hotels to global icons - Ryman chefs serve only the best!
Before making the move to the retirement sector, many of our chefs at Ryman Healthcare have worked all around the world in some of the finest restaurants and hotels, often serving up platters for the rich and famous.
This means that our residents are getting the benefit of this fantastic experience now delivered right to their plates!
.webp?width=1200&height=847&name=image%20(10).webp)