Crafty Summer Dining
Crafty Summer Dining

Every occasion deserves a little flair, from the large and important to the small and everyday. With a few carefully crafted pieces, a dining setting is elevated from plain to perfect.
The key is to tie everything together for a cohesive style. You might choose to do this with colour, shape, texture, or maybe pattern. For example, a linen table runner pairs beautifully with linen napkins and rustic touches like rosemary sprigs.
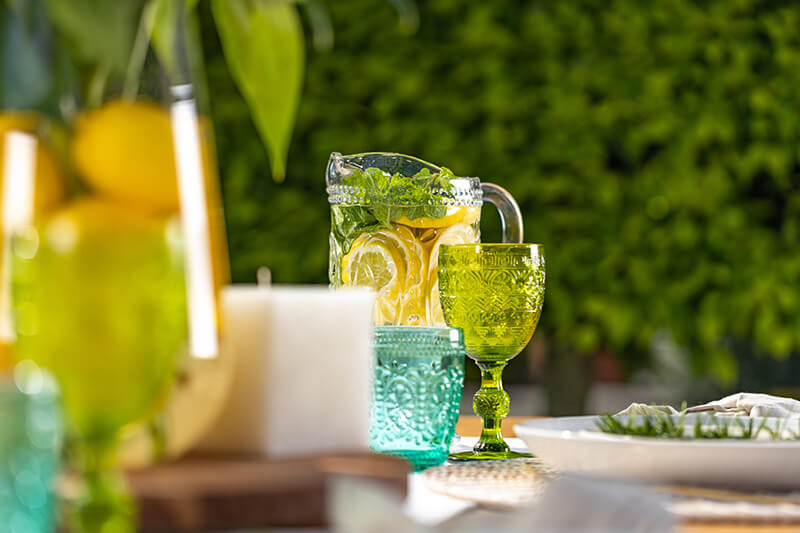
Try a fresh, vibrant colour palette of bright leafy greens, yellow petals, and bright yellow lemons with patterned green and blue glassware. The translucent nature of the glassware adds depth to the scene and deftly ties the splashes of green and yellow together.
DIY Stencilled Table Runner
Follow these straightforward instructions to create your own stenciled table runner or tablecloth. Simply match the colours and patterns to your personal preferences, table style or theme. If you’re feeling festive, you might stencil reindeer flying the length of the runner. Or beautiful big peonies to celebrate summer.
Materials
- Fabric table runner or tablecloth
- Stencil pattern, or create your own with cardboard and scissors
- Wash-proof fabric paint
- Paintbrush
Method
If you’re making your own stencil, leave a margin around the edge of your piece of cardboard. If you plan on making a repeated pattern, make a few stencils at once then tape them in place alongside each other. This makes for very efficient patternmaking.
1. Lay your stencil on the surface of your fabric. Start at an end or corner.2. Tape the stencil in position to ensure it sits flat.
3. Paint over the stencil, getting into the corners but making sure the brush bristles don't sneak under the stencil boundary
4. Carefully remove the stencil
5. Let dry
DIY Centrepiece Display
Say ‘Hello Summer!’ with a bold floral centrepiece. There’s no better way to bring the outdoors in than with flowers. The scent, colour, delicate petals, and the dramatic visual focal point they create are unmatched. Your display could be as simple as plucking some florals from your garden or balcony and popping them in a lovely vase.
Materials
- 6-8 lemons, for a medium vase
- Knife, to cut the lemons
- Medium glass vase
- Flowers
Method
1. You can either cut each lemon in half, removing the seeds, or keep them whole.
2. Fill the vase three-quarters of the way up with water.
3. Position your flowers in the vase. Lilies or white roses are ideal for a fresh, summery display.
4. Slide each lemon half down the vase with its skin facing out.
5. Shuffle the lemons until they’re sitting close together.
6. Place your centrepiece in the middle of the table for all to enjoy.
![]()
DIY Dry Brushed Placemats
Elevate your plate setting with these modern placemats. Dry brushed placemats can be modern, rustic, or beachy. The final look depends entirely on what you style the placemats with. A loosely tied linen napkin knot, tealight candles, and shells scattered across the table runner will evoke beachy feelings for those sitting around the table. Or pair dry brushed placemats with grey stone plates, marble-look coasters, and silver napkin rings for a refined, modern place setting. With such versatility, one set of dry brushed placemats can see you through many years of different table styling occasions.
Materials
- Straw or rattan placemats
- Drop cloth (to protect surfaces)
- Clearcoat, optional
- Paintbrush, medium to thick
- White paint
Method
1. Protect your working surface with a drop cloth.
2. Dap a tiny amount of paint onto a dry paintbrush and rub it on a piece of paper to spread it across the bristles.
3. Lightly brush the paint across your placemat, evenly covering the surface. You should still see plenty of the natural placemat material.
4. You might stop here or continue layering until you’re happy with the level of dry brushing.
5. Once you have finished brushing, set the placemat aside to dry. You may choose to spray with a clear coat to help protect the paint.

Styling with Coloured Glass
Styling a table with coloured glass opens you up to a world of colourful possibilities. The glasses in the picture above are the type you can come across while hunting through a store of discarded treasures. With a little digging, you might just come across an entire set. The trick is to find a couple of sets that complement each other in style and colour. Pair these on the table for an eclectic style that looks great. This way you have a cohesive look while using elements that are visually different for interest.
When searching for unique coloured glassware, take note of the pattern. Some will be plain while others will feature minor details or highly patterned glassware. These glasses will stand out from the crowd and draw the eye of your dinner guests. Pair them with less busy details so that the eye isn’t drawn to too many items at once. This approach will result in a balanced table design.
How To Infuse Water – with Recipes
Healthy, refreshing, and visually stunning, a jug of infused water is a must for any table setting. When using a clear jug, the way you cut the cucumber or curl the lemon rind is important. You may need twice the number of strawberries and half the amount of ice you had planned because they don’t look like enough. But it’s all worth it. Because not only will your water jug look incredible on the table, it will taste delicious as well. A necessity on warm summer days!
Here are some infused water recipes to try at home:
Method
Add all ingredients first, then add water, seal the lid, and refrigerate overnight.
Ingredients
Cucumber Mint
- ½ cup cucumber, thickly sliced
- ½ cup fresh mint leaves
Strawberry Lemon
- 8-10 strawberries, halved
- 8-10 lemon slices, seeds removed
Watermelon Basil
- ½ cup watermelon, cubed and seedless
- 8-10 basil leaves

Places, please
You don’t need a lot of people sitting around the table to justify place cards. They’re a fun addition from the most formal to the most modest of occasions. While often left until last, they’re very easy to throw together at the last minute. Whether you’re after an elegant traditional style, modern chic, or a rustic natural approach, there’s a place card design for you.
Place card design ideas
1. A formal place card: cut textured paper to size and write the names in elegant calligraphy style. Finish the scene with a scattering of rose petals.
2. A rustic place card: small pieces of wood are perfect for adding warmth and rustic character to a place setting. Sand small wood offcuts or pieces of bark and write the names inside using a thin white marker.
3. A unique place card: especially for close friends and family, cut a silhouette of something special to each person. Perhaps it’s a puppy silhouette for a dog lover, a chess piece for a game player, and an Eiffel tower silhouette for the Francophile in your life.

Grazing on Tables
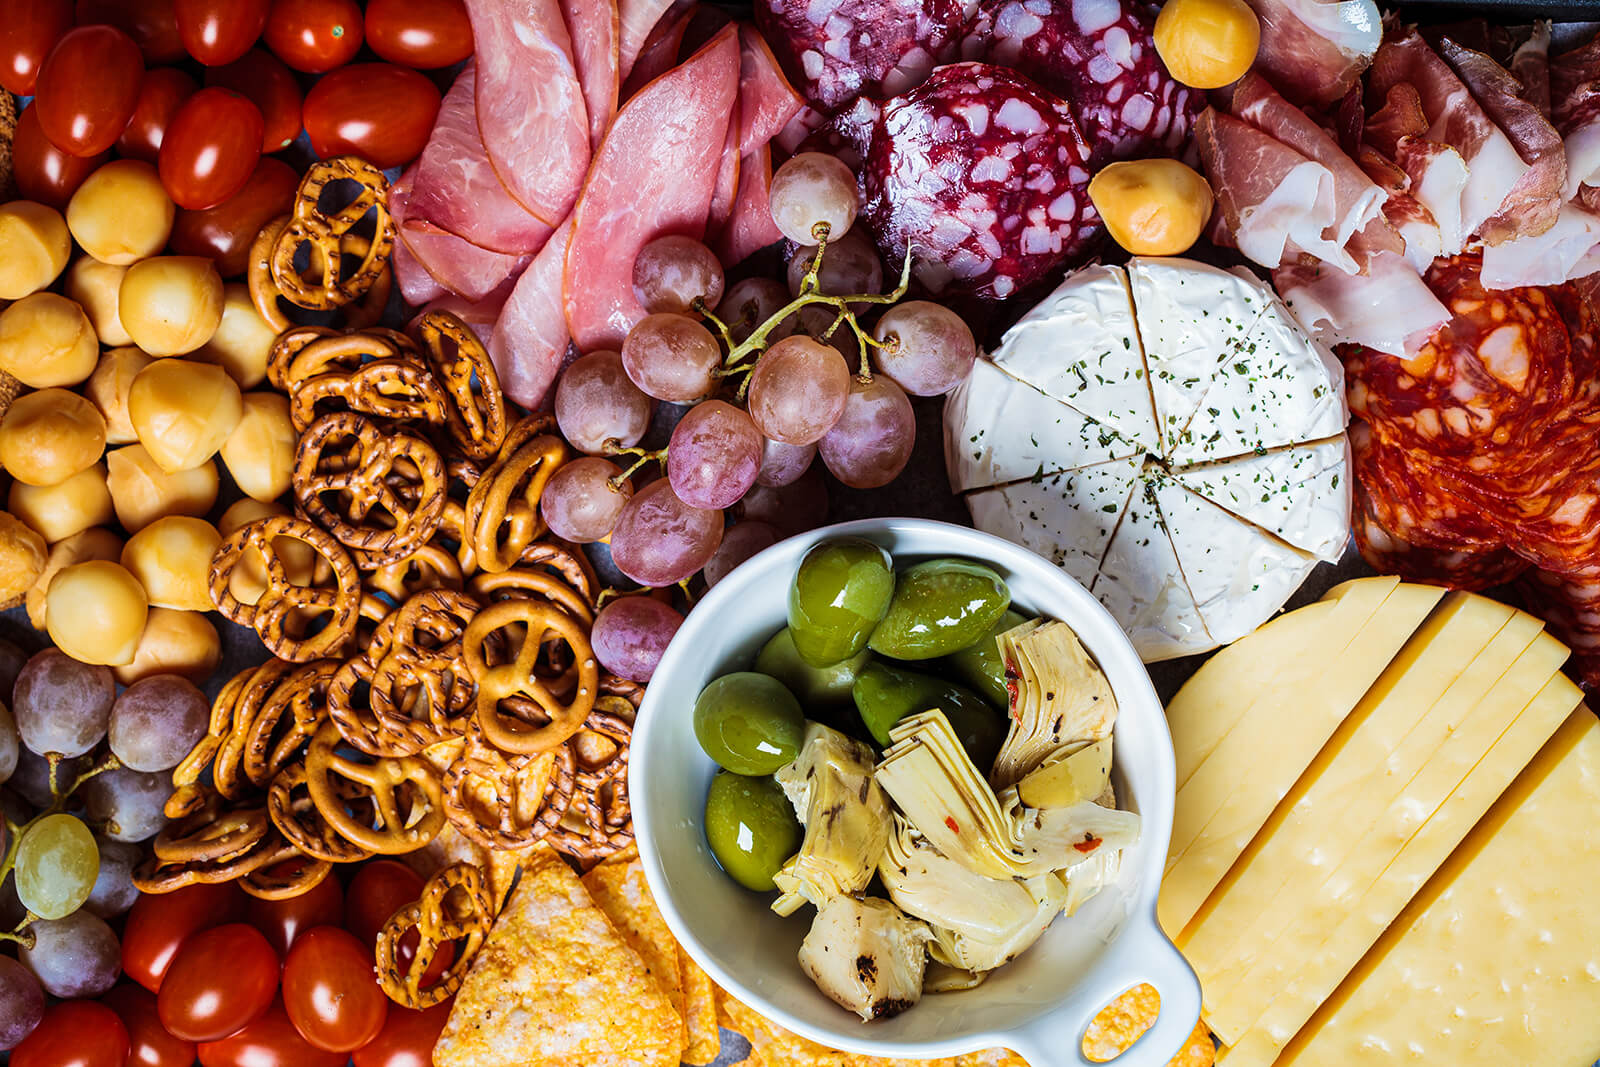
Ever-popular, grazing tables and platters are a visually stunning way to present food. Comprised of many varieties of food clustered tightly together at varying heights, a grazing table is no mean feat. But if you have the budget and enthusiasm to create something as decadent as a grazing table at home, you’ll be sure to impress!
Step 1: Choose your table or platter. This might be a small platform on an existing table, it might be an entire dining table, or it might be a large cheese board. Whichever you choose, the following steps will apply.
Step 2: A grazing table starts with a strong base. Gather a selection of jars and small dishes. Then locate some props. These will help create varying heights throughout the grazing table. You might also position greenery throughout the table. Make sure it’s edible or safe to sit alongside food. Greenery can be positioned in vases to create height and tucked into corners throughout the grazing table for texture and visual interest.
Step 3: Food prep time. You will use large foods like bread (30% of the table), medium foods like crackers (50% of the table), and small foods like nuts and lollies (20%).
Step 4: Start big! These are your anchor pieces. Keep them spread apart to create balance. Some low on the table and some high. You might pre-slice bread and add that to the table or an entire baguette. Remember as you add food that the idea is for people to graze without effort. If something needs to be cut or opened, do that now.
Step 5: Add your medium-sized foods. These might be dips, crackers, grapes, strawberries, chocolate eggs. The table should be filling quickly now. Continue adding medium-sized foods until there are no obvious gaps on the table. Also, focus on colour for these foods – bright beetroot dip and green pesto are a treat for the eye.
Step 6: Now for the small foods. Scatter these everywhere as well as creating some small clusters. Dried fruits and nuts are ideal for texture and colour. They’re also easy for people to pick at. Chocolate and lollies are also popular. Or you might have a vegetarian grazing table featuring carrot sticks, cucumber slices, and cherry tomatoes.
Step 7: It’s finishing touches time. This part is simple, just stand back and look for gaps to fill. Then take a few sprigs of rosemary, other herbs, and edible flowers, and position them across the top. Your grazing table should feel cluttered and overflowing already, so the edible flowers and herbs will act as the cherries on the top. You could also add actual cherries!
Summer is the perfect time to have fun with food, entertaining and celebrating special occasions at home.
Crafting is a brilliant way to make your summer dining events feel unique and look beautiful. And if nothing else, it's a fantastic excuse to have a cuppa and tinker away on a DIY project for a few relaxing hours.
by Christine McCurdy | Dec 4, 2020
Subscribe to our blog newsletter
You May Also Like
These Related Stories

Games for people with dementia

Ally and Julie fit right in at Kevin Hickman Retirement Village


